Software
A configurator is required to load the Universal Cartridge with the right resin profile that matches with the one your 3rd party resin is designed for. You can download it on our software page. You can also find drivers on this page if needed.
Ready-to-run cartridge
Fill this cartridge with your favorite 3rd party resin. Make sure the cartridge is powered with for example a phone charger. The first time you insert the cartridge into your printer it will be recognised as "Black - V2". This means that the universal cartridge is working and ready to be loaded with the resin profile of choice.
The correct insertion order:1. Insert the cartridge in the printer.2. Plug the usb adapter with cable into a mains socket.3. Insert the cable in the cartridge.
It takes about 5 seconds before the cartridge is recognised by the printer.
Check if the bite valve is functioning properly and is not leaking any resin.
DIY Module
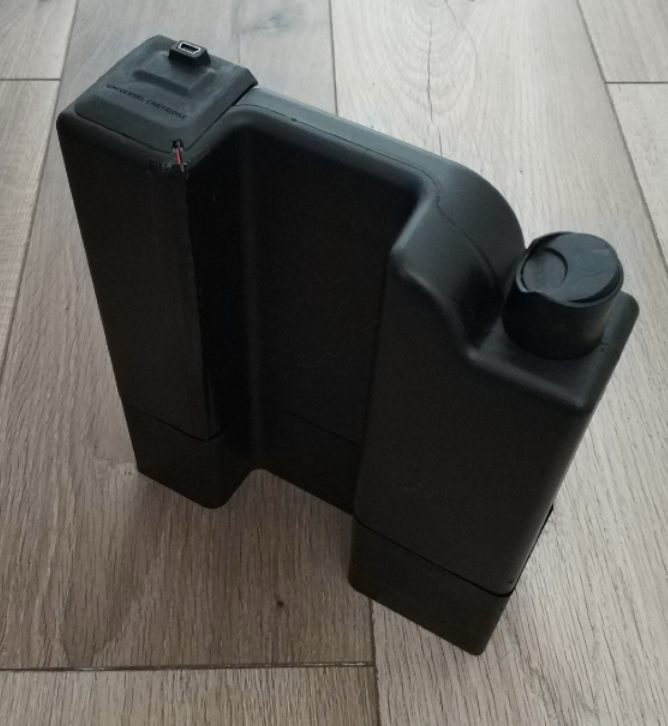
The module is installed on top of the resin cartridge and communication wires run on the side of the cartridge. Make sure to install the module as pictured below. This way you can still open the orange cover while the cartridge is powered.
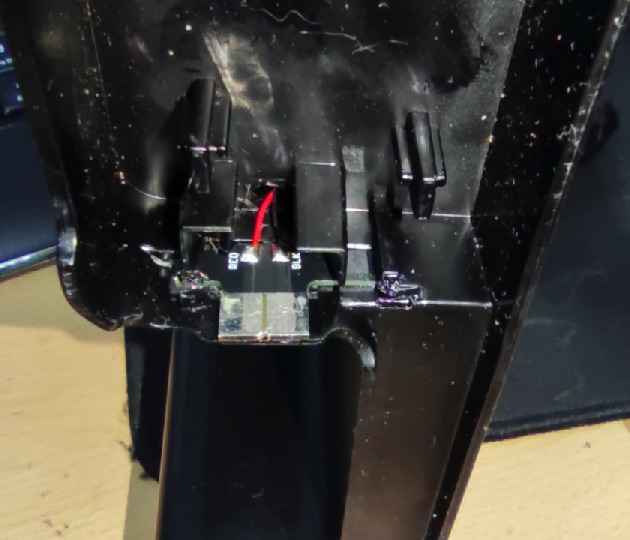
The cartridge is made from a plastic that can be difficult to glue. You can improve adhesion by shortly touching the plastic surface with a flame(for example with a creme brulee burner). We use Loctite 401 or Loctite 416 to glue the module and chip at the bottom in place. You can use any CA-glue(gorilla glue).
The two wires that run on the side of the cartridge can be kept in place using tape. We use 0.15mm black ducttape in below picture. Thin tape works the best.

Make sure you have a recent type cartridge for modification. They have a similar sized chip as supplied in the DIY kit.
This chip is different from the chip in below video.
Make sure that the module is mounted with the USB connection to the back of the Formlabs machine, this way it is possible to open the cover without having to disconnect the USB connector.